ActionAtlas allows you to track and manage different types of purchase orders (POs) for your client accounts. This guide will walk you through the process of adding and managing purchase orders in the system.
In This Article:
Types of Purchase Orders
ActionAtlas works with two types of purchase orders:
-
Blanket Purchase Orders
A blanket PO is used when a creative agency is contracted for a large sum of capital to complete many projects over the course of a year. This allows for streamlined project creation and budgeting under a single financial agreement.
-
Single Project Purchase Orders
These are individual POs created for specific projects. Each project gets its own purchase order with dedicated budget and timeline.
Note: The type of PO management approach you use depends on your client's procurement process and business requirements.
Step 1: Accessing the Client Section
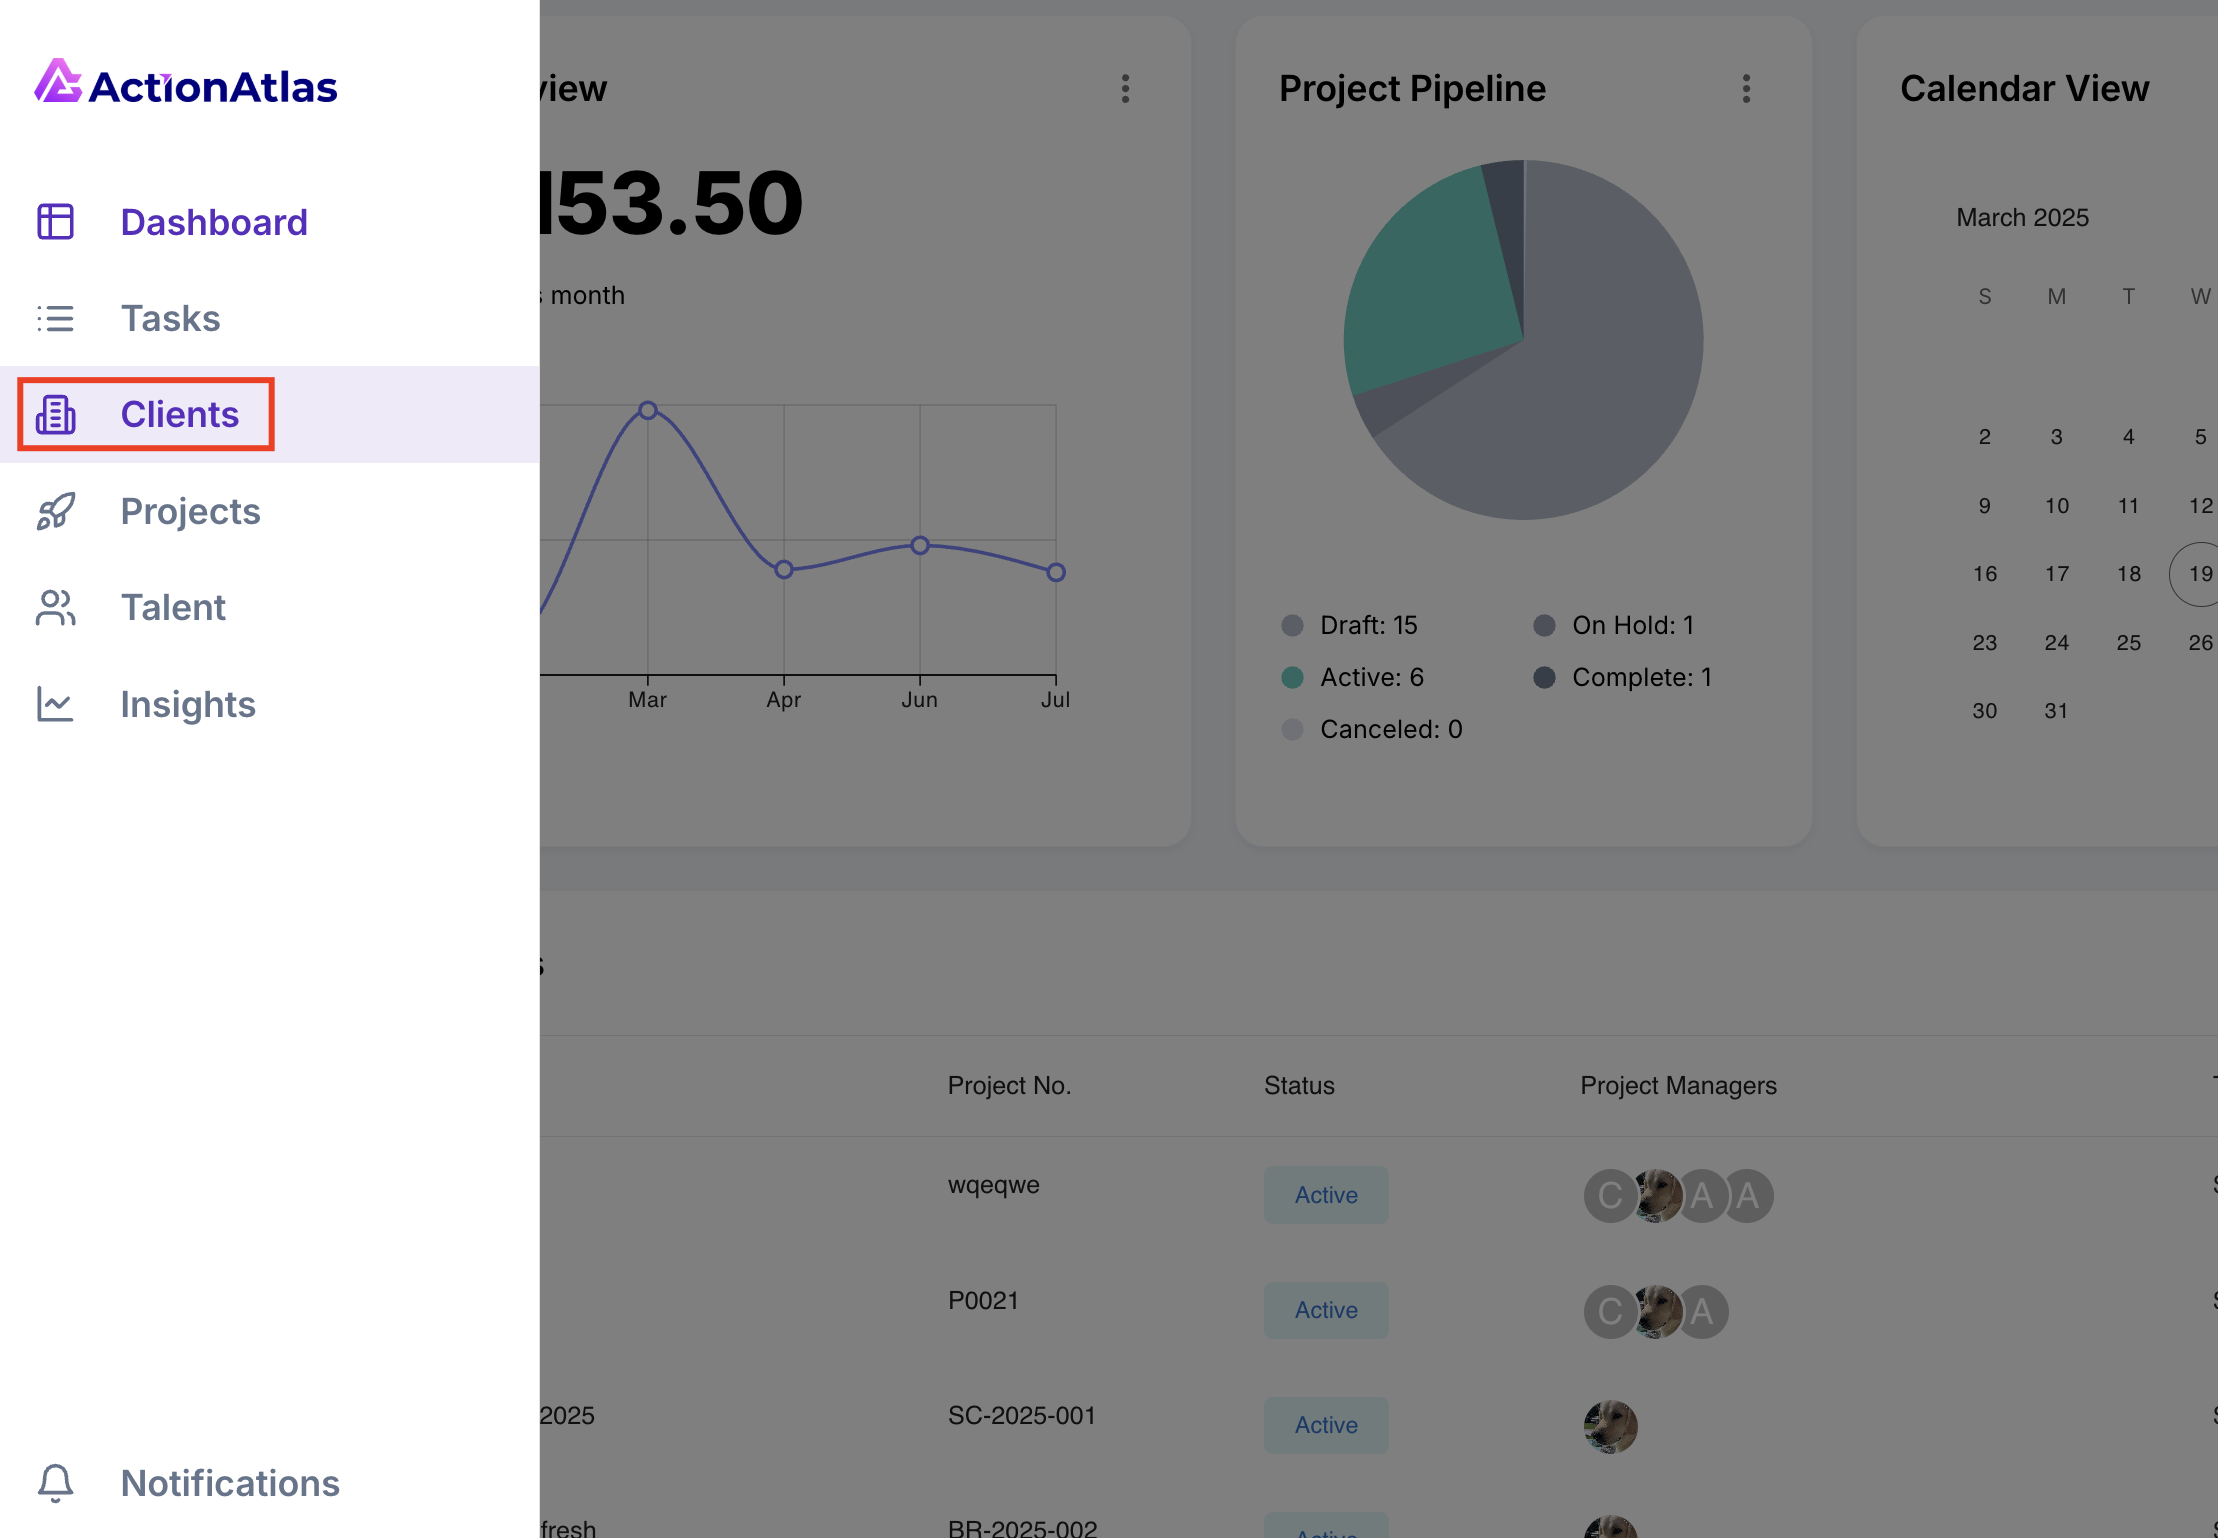
Navigate to Clients in the left-hand navigation menu and make sure the Clients tab is selected.

Accessing the Clients section from the navigation menu
Step 2: Selecting a Client Account
Find the Client Account where the new purchase order needs to be created and select it.
Tip: You can use the search function to quickly find specific clients by name or industry.
Step 3: Opening the PO Tab
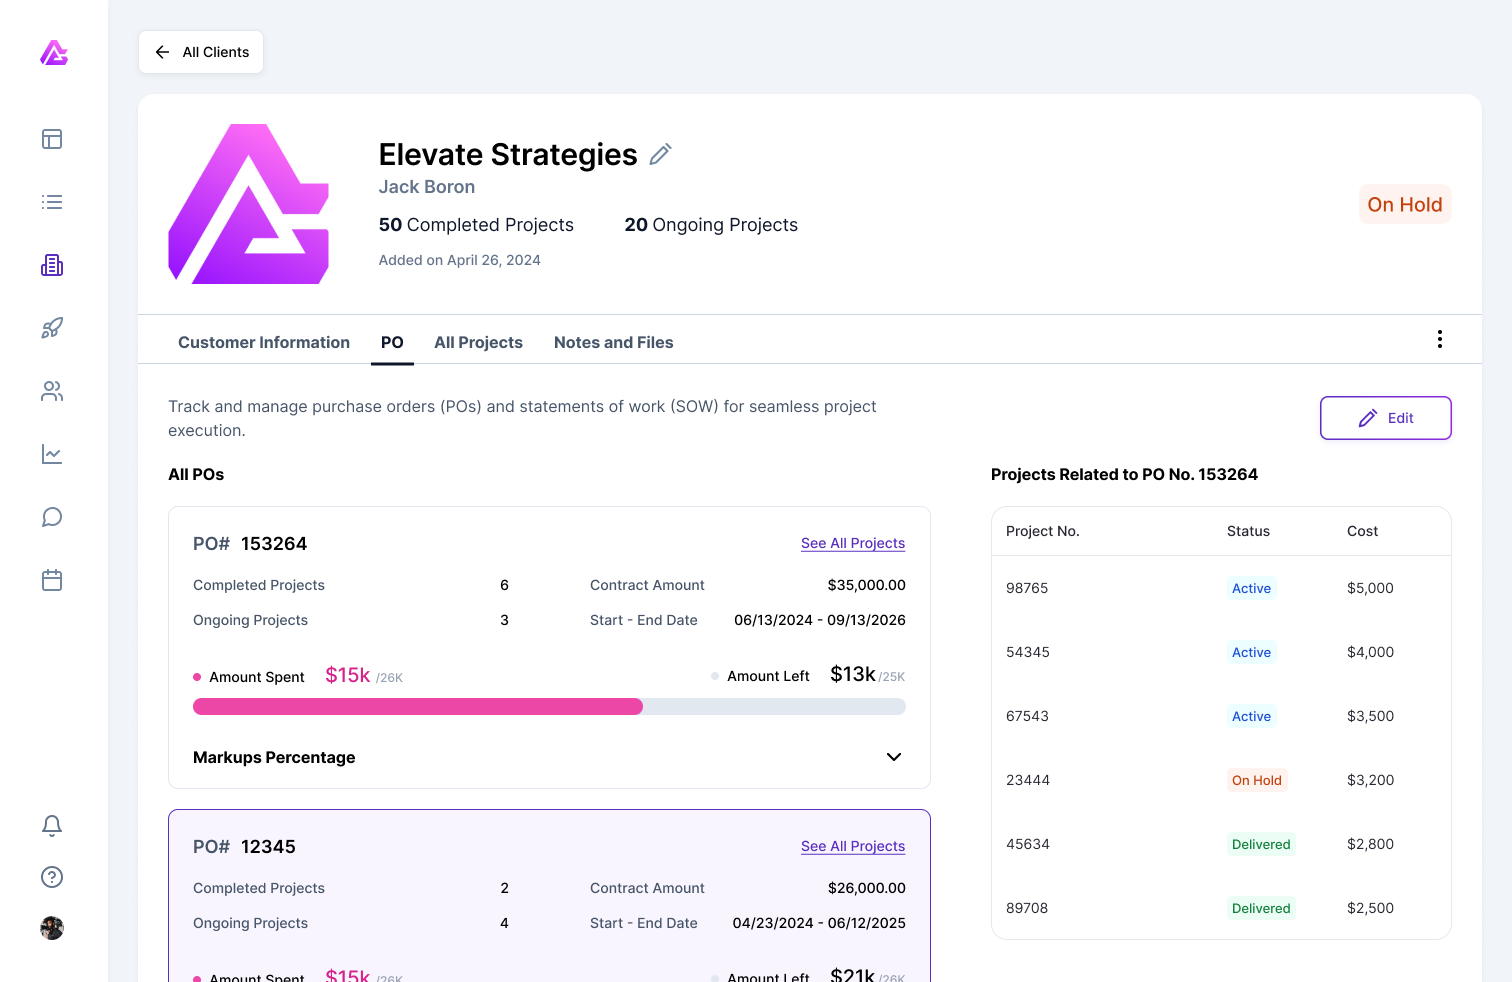
Once on the client details page, select the PO tab to view existing purchase orders or add a new one.

The Purchase Orders tab in the client account
Step 4: Adding a New Purchase Order
Click on the "Edit" button to enable changes to purchase orders.
Then click on "+ Add New PO" and enter the required fields:
- PO No. – The unique purchase order number
- Contract Amount – The total value of the purchase order
- Start Date – When the PO becomes effective
- End Date – When the PO expires
- Amount Spent YTD – The amount already utilized from the PO
Step 5: Setting Markup Percentages
If the PO contains negotiated markup percentages for project expenses, enter the percentage values and their descriptors.
Note: If the percentage values are left blank or 0%, ActionAtlas will automatically pull in financial percentage setup by your Admin.
Step 6: Saving Your PO Entry
After entering all the required information, click the "Save" button to create the purchase order.
The new PO will now appear in the list of purchase orders for this client and can be associated with projects.
Tip: Regularly review your POs to track remaining balances and expiration dates to ensure project budgets are properly allocated.
Need Help?
Our support team is here to assist you with any questions about managing purchase orders.
Contact Support