Adding a parent company in ActionAtlas allows you to establish hierarchical relationships between business entities. This guide will walk you through the process of creating a new parent company that can be linked to multiple client accounts.
In This Article:
Step 1: Accessing the Clients Section
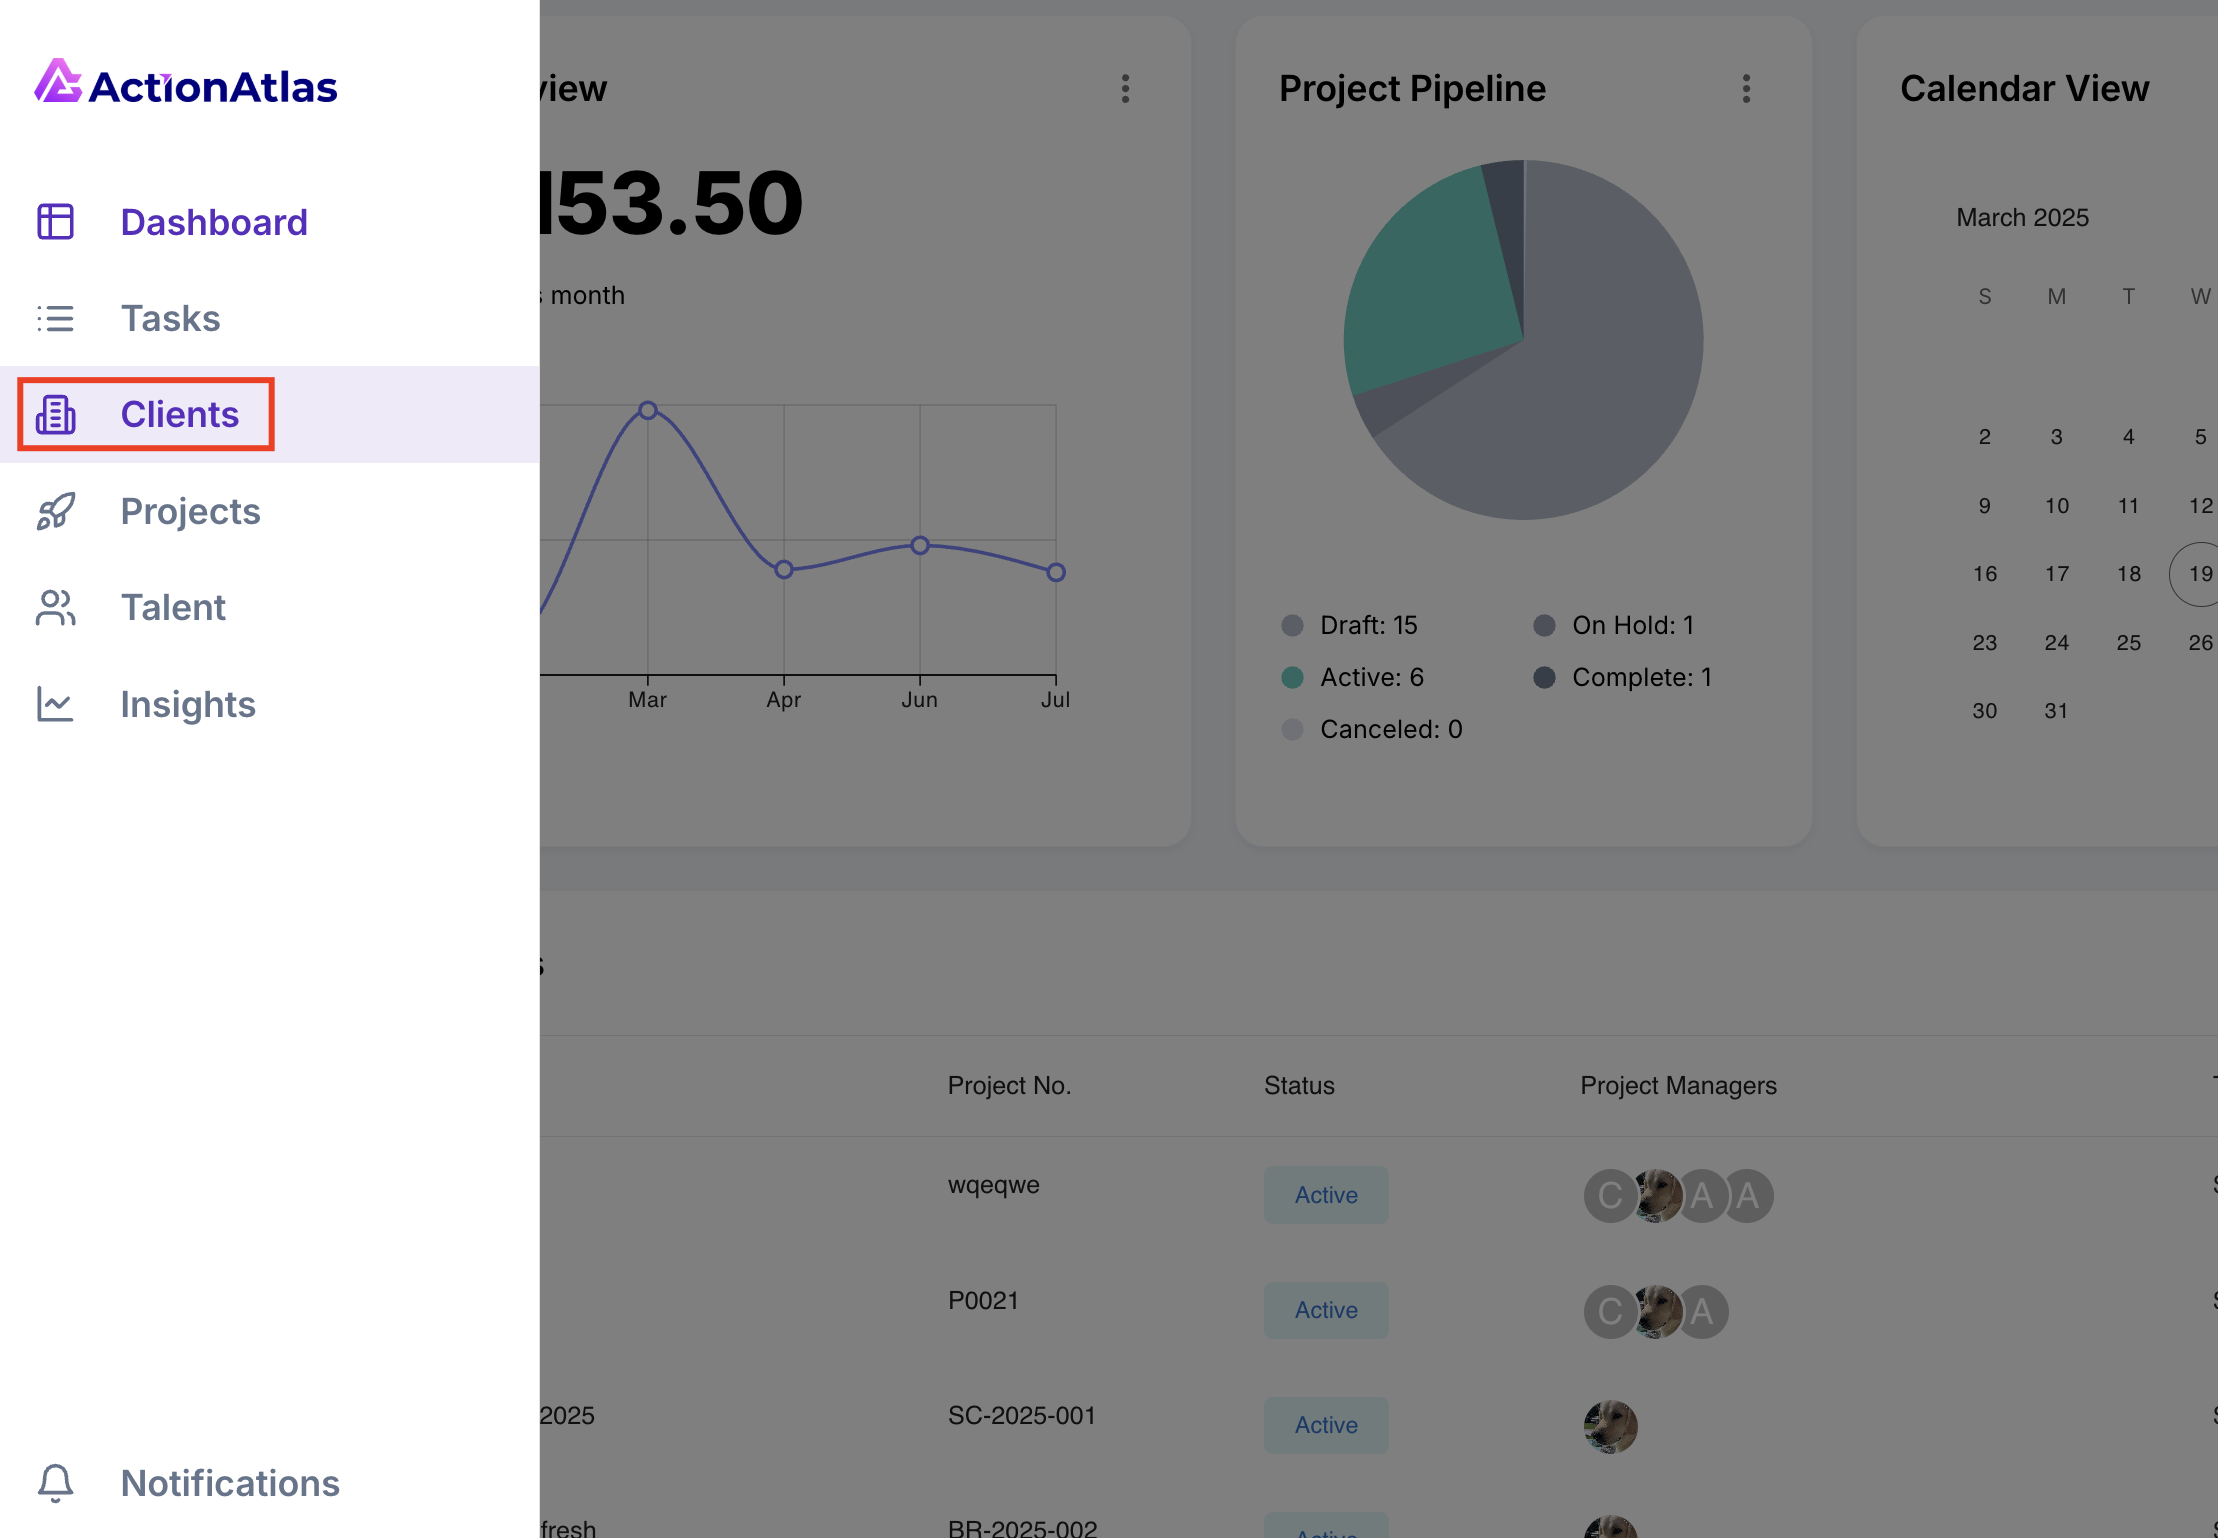
In the left-hand navigation menu, click on "Clients" to access the client management area.

Accessing the Clients section from the navigation menu
Step 2: Opening the Parent Companies Tab
Once in the Clients section, click on the "Parent Companies" tab to view existing parent companies and management options.
Parent Companies vs. Client Accounts: Parent companies represent the top-level organization, while client accounts are individual business units or brands that operate under the parent.
Step 3: Creating a New Parent Company
Click on the "+ New Parent Company" button to start the creation process.

The New Parent Company button
Step 4: Filling Out Company Details
Complete the parent company form with all relevant information:
- Company Logo – Upload a high-resolution logo image (recommended size: 500x500px)
- Company Name – Enter the legal name of the parent company
- Industry – Select the industry from the dropdown menu
- Website – Include the company's primary website URL
- Address – Enter the primary business address
- City – Enter the city name
- State/Province – Select or enter the state or province
- ZIP/Postal Code – Enter the postal code
Tip: Adding complete and accurate information makes it easier to identify parent companies and maintain organized client relationships.
Step 5: Saving the Parent Company
After filling out all the required information, click the "Save" button to create the parent company.
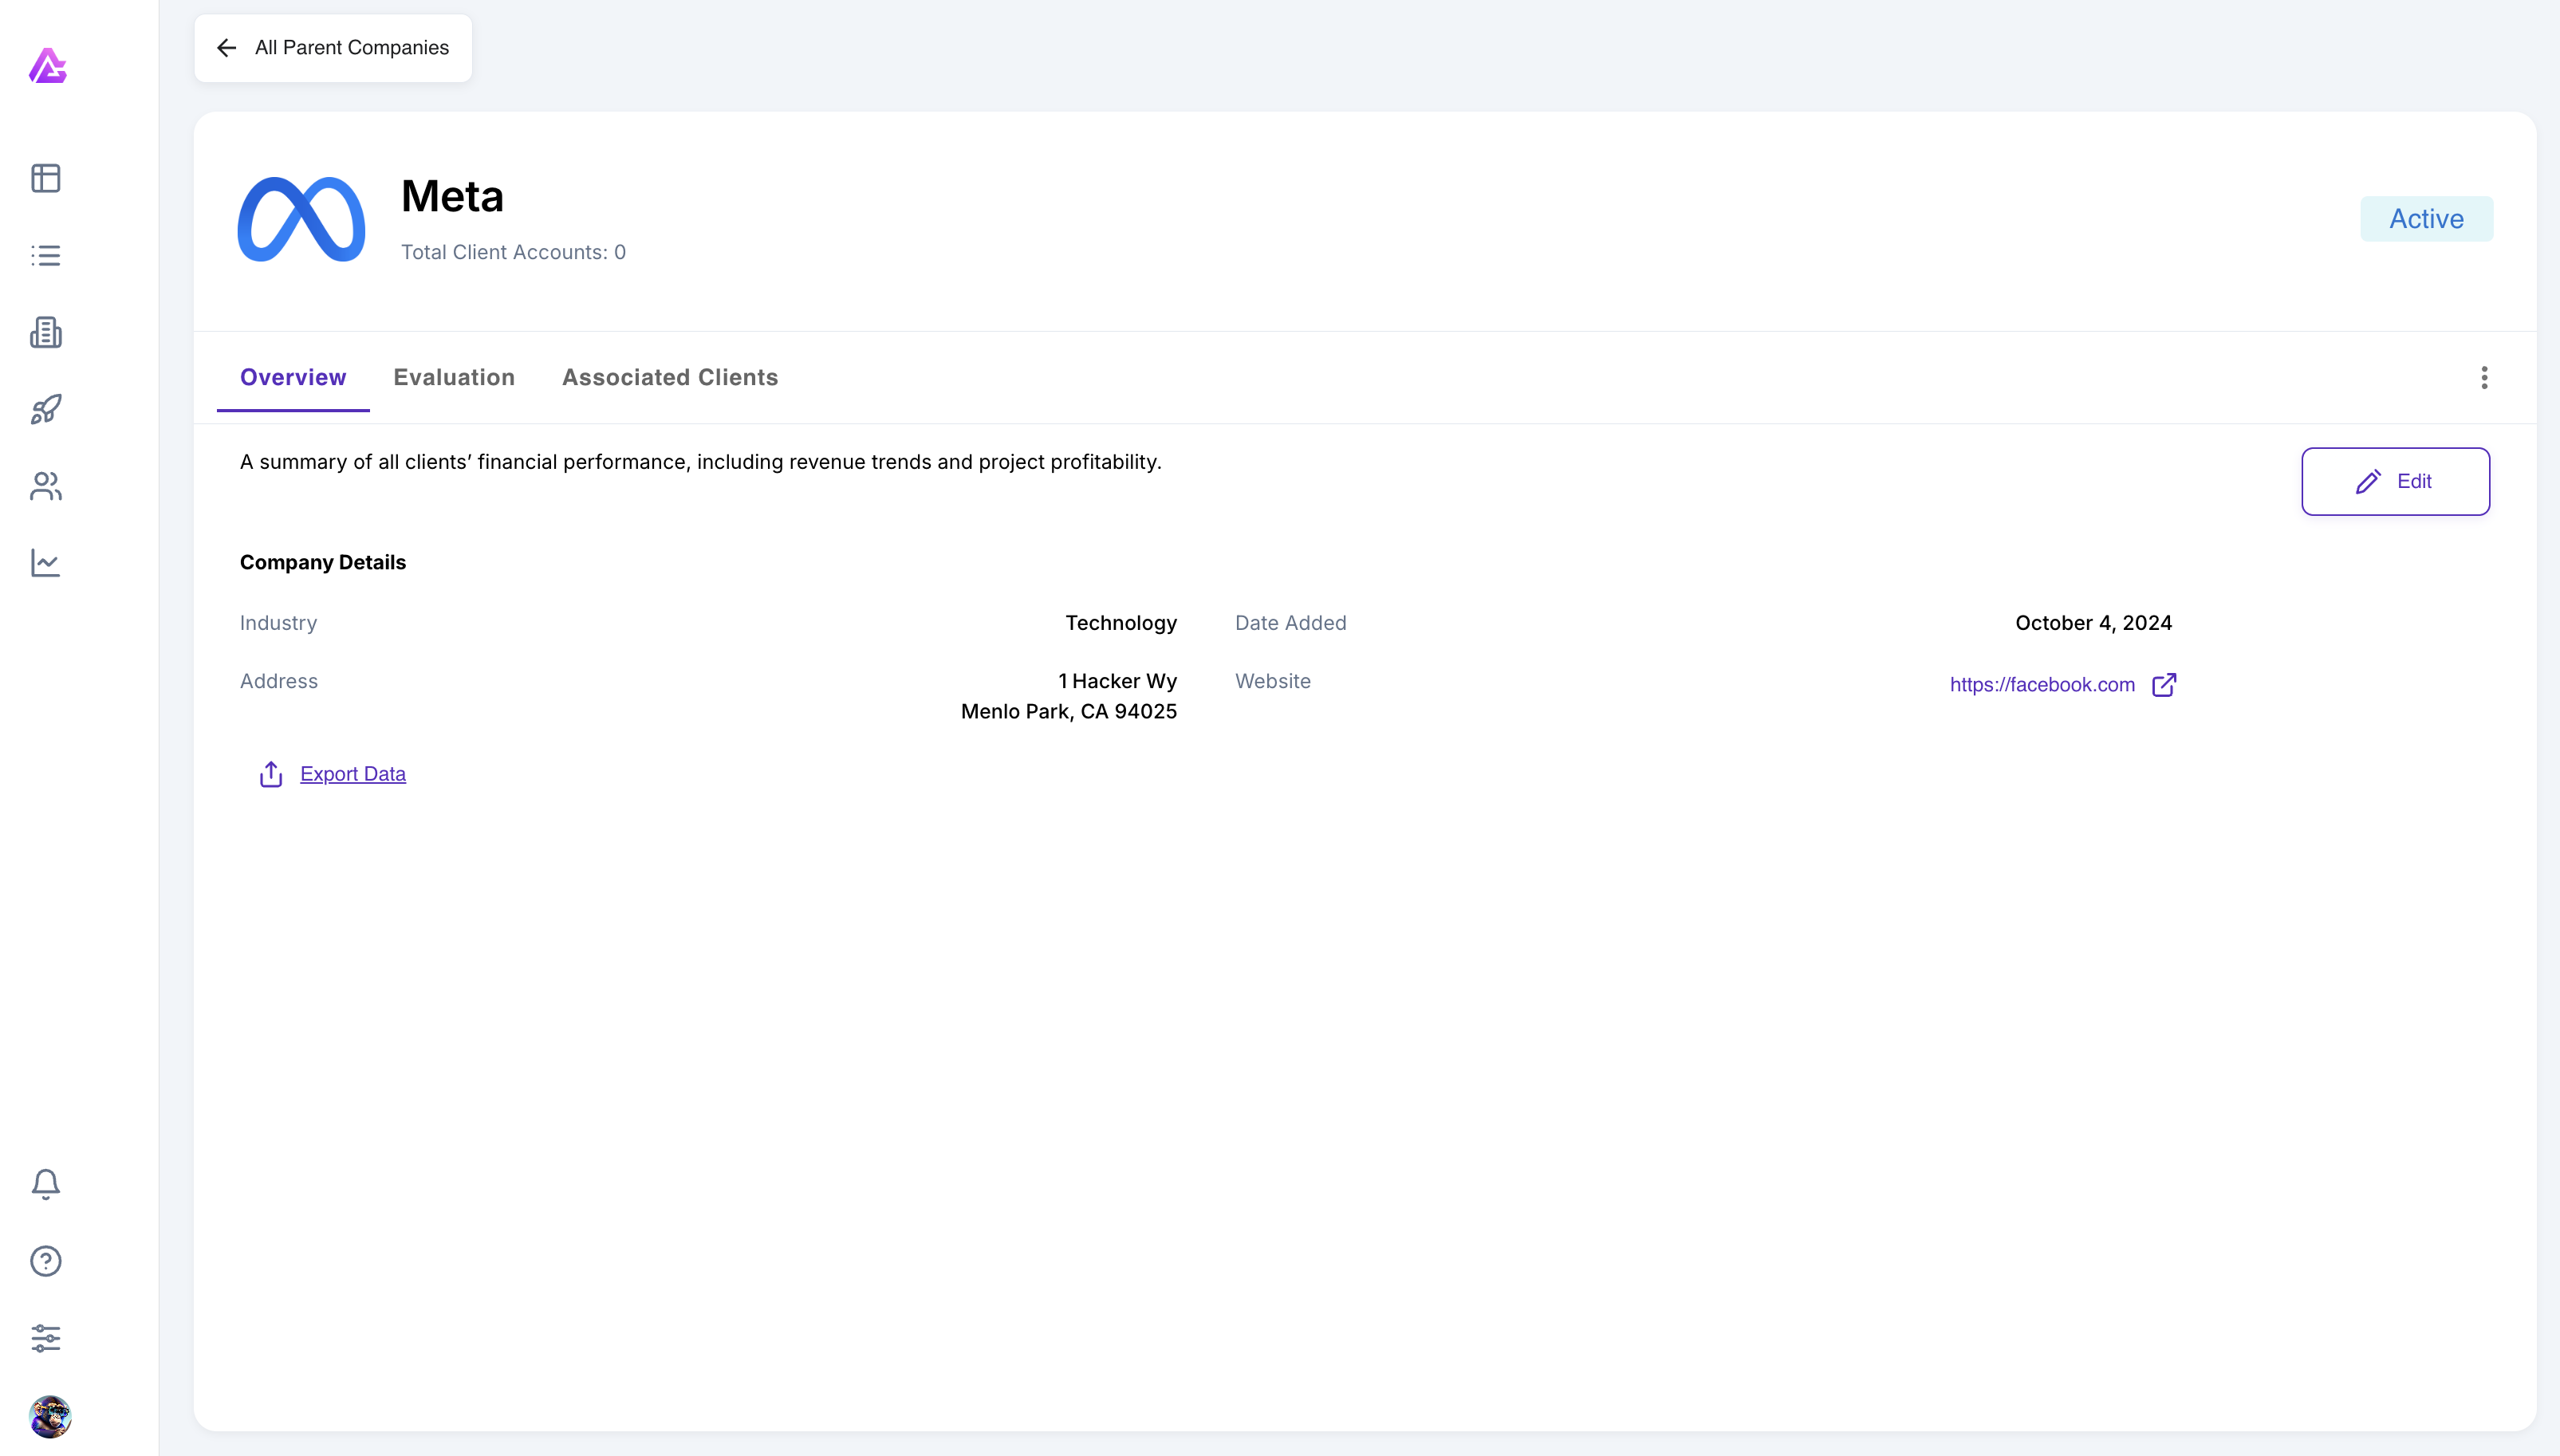
Note: Once created, you can link client accounts to this parent company from the client account settings.

Confirmation screen after successfully creating a parent company
Need Help?
Our support team is here to assist you with any questions about parent companies.
Contact Support