Get up and running with ActionAtlas in just a few minutes! This quick guide will walk you through the essential steps to start using the core features.
In this article:
1. Logging in for the first time
When you receive your welcome email, click the "Sign In" button to access the login page. Use the temporary password provided in the email - you'll be prompted to create a new password on your first login.

The login screen
For security reasons, your password must be at least 10 characters long and include a mix of uppercase, lowercase, numbers, and special characters.
2. Dashboard overview
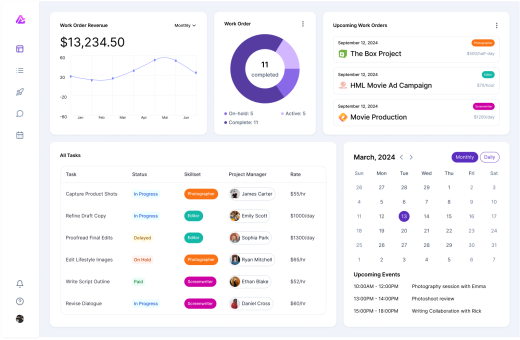
After logging in, you’ll land on the main dashboard, which provides a snapshot of your current activities and key metrics. The dashboard is tailored to your role—Admins and Operations users see company-wide insights, Project Managers focus on active projects and task assignments, Team Members view their assigned work, and Freelancers get a streamlined view of their projects, invoices, and upcoming deadlines.

The main dashboard
Key dashboard elements:
- Navigation Menu - Access all platform features from the left sidebar.
- Open Work Orders - View the latest project updates, work assignments, and notifications.
- Project Pipeline - Track the progress of ongoing projects and upcoming work.
- Revenue Metrics - Monitor financial performance with key revenue insights and trends.
- Upcoming Tasks - Stay on top of pending assignments and deadlines.
- Project Calendar - View scheduled tasks, project timelines, and important milestones.
3. Creating your first project
Projects are the core of our platform's workflow. To create your first project:
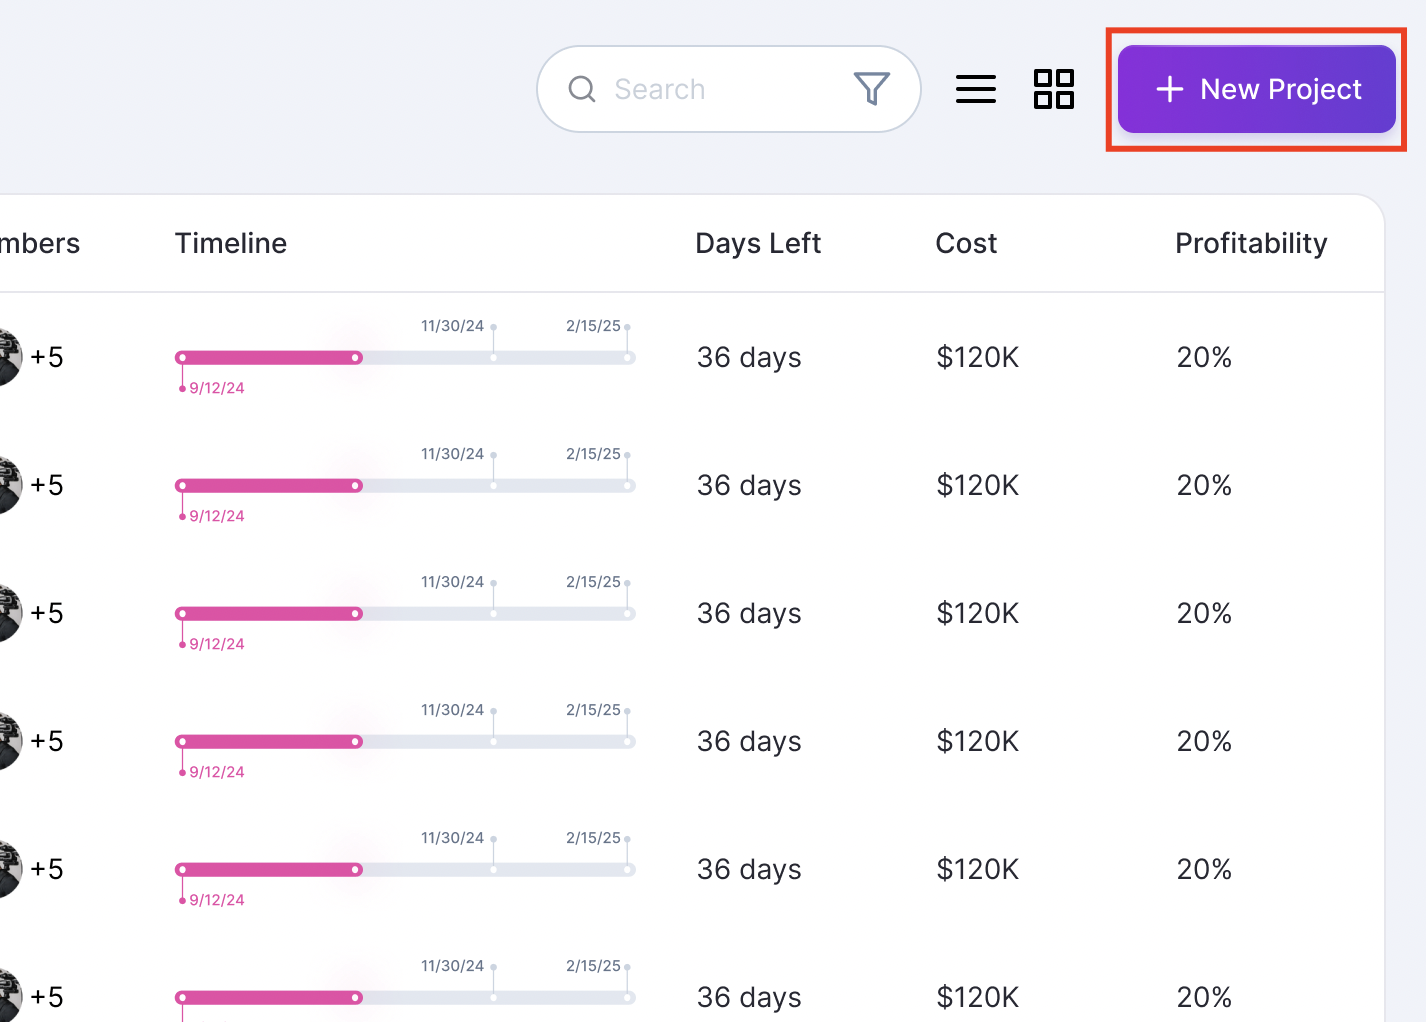
- Click the "+ New Project" button in the top-right corner of the project dashboard
- Enter a descriptive project name and project number
- Add a brief description of the project goals
- Set the project timeline by selecting start and end dates
- Follow the next steps until you get to the Reviewwindow
- Click "Create Project" to finish

The project creation form
Tip: Use descriptive project names that include the client name and project type for easier identification, e.g., "Acme Corp - Website Redesign"
4. Inviting team members
You can invite team members to a project during the project creation process or later through the Project Talent tab.
- Navigate to the Project and click on the Talent Tab
- Select Project Managers, Team Members or Freelancers tab
- In this example, we'll add a Freelancer. Click on + Add Freelancer
- Select a Skillset and set the Start and End Date of the contract
- Find the Freelancer for the product and select the Rate
- Click "+Add Freelancer"
Note: When the project status is still in Draft, Team Members and Freelancers can be added and removed to fit the project scope.
5. Next steps
Now that you've set up your first project and added team members, you can:
- Create detailed tasks and assign them to team members
- Set up project milestones and deliverables
- Configure budget tracking and expense reporting
- Add client details and communication preferences
Need Help?
Our support team is here to help you with any questions about getting started.
Contact Support